Step-by-Step Process Photos


Heating red glass gather

Shaping with flat blade

Adding blue glass

Shaping after addition of red glass

Adding thin black outline

Heating for shaping

Shaping with graphite rod

Adding blue/green background glass


Shaping

Heating for stretching

Stretch

Anneal

Cut cooled rod into 4 equal segments

Wire together with copper

Bring up to working temperature

Remove wire and heat

Shape as above for final stretch

Stretch

Finished cane

Another cane using the previous
cane as the central element.


Click on photo above to see
the construction steps.

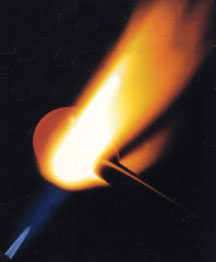
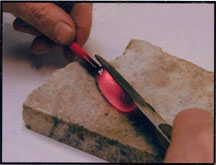
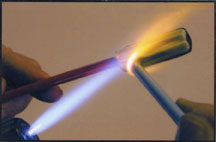
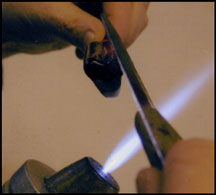
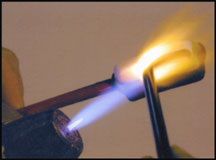
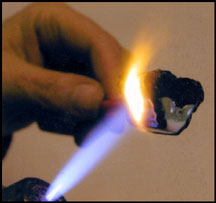
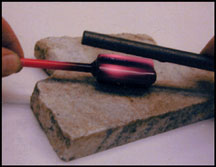
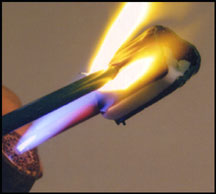
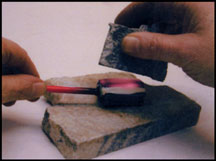
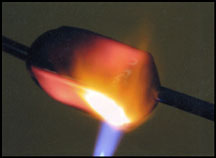
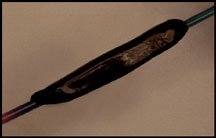
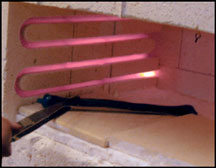
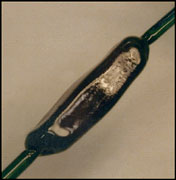
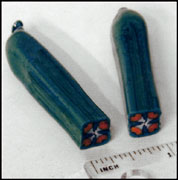
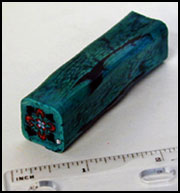
I have worked with hot glass for over 30 years and have focused my work on mosaic glass for the past 12 years. During this time I have developed and refined various techniques for creating imagery within a cane or rod of glass. I have now undertaken a study of various ancient Ptolemaic mosaic glass plaques in an attempt to determine if the techniques I use in my own work are in any way similar to those techniques used in the ancient past.

As my method of investigation I have chosen to replicate the visual style seen in some of the representative mosaic glass plaques of the 1 st century B.C./A.D. My first step was to ‘deconstruct' on paper the imagery that I chose as my models. I then progressively created in glass each of these design elements as shown in the illustrations. Working over a period of 3 months, I gradually assembled these many pre-made components into a unified whole with the continued application of hot glass.

I was surprised to discover the great amount of cold work (lapidary) that was required to achieve the intricacies of these designs. These pieces are of extreme complexity and, I feel, required a highly skilled artisan who had the sensibilities and patience of a jeweler (inlayer). I am now convinced that the pieces that I have created show similarities to their ancient models so that it can be concluded that the originals were constructed using techniques similar to those that I show here.